How to Record Any Screen on Windows and Mac for Free
Why we need recorders? It is a truth that modern life has to rely on mobile devices as well as computers to do many tasks during a day. We need to get in touch with many videos and audios related tasks because many instant information will be shared in these ways. Therefore, we sometimes may need to record down the important messages and information from these media contents. A recorder can help us to record online videos, audios, no matter they are from what platforms and what are they about.
People working in all aspects may need a recorder sometimes. Businessmen need to record some important information while making video calls with their clients. Game players want to record the gameplay periods down for sharing with friends. Students prefer to record the online lessons so that they can playback when meeting some hard problems... There are more situations that people would need a recorder for using on their computers. For you, we would like to recommend you the best recorder - RecordAnyVid.
Part 1. What is RecordAnyVid?
RecordAnyVid is a powerful PC recorder that allows users to record and capture any screen no matter on Windows or Mac computer. For any type of information that presents on your screen, like the online videos, gameplay, screencast webcam videos, you can use this tool to record them down. and create video tutorials. By getting the videos recorded, you can even create a video tutorial by yourself using the recorded materials.
What benefits that RecordAnyVid can bring you? High audio quality, multiple output formats, and shortcut control, etc. are all the highlights that attract a large number of users for using this software. With RecordAnyVid, you can get high-quality recordings with only very few clicks. Other than being a simple recorder, many other functions are provided in RecordAnyVid to assist your video/audio recording more simply.
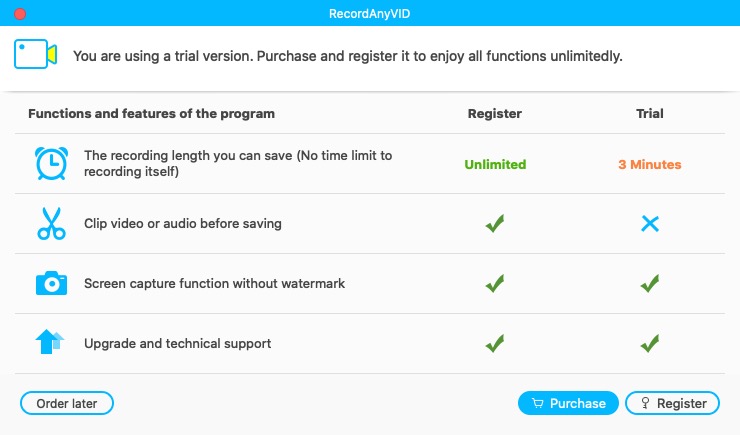
There are also free and paid versions for both Windows and Mac platforms. You can choose to use a free one or purchase the product for using its full functions because there will be some limitations if you use a free one. RecordAnyVid supports both English and Japanese. Choose it if RecordAnyVid meets your needs.
Part 2. How to Install RecordAnyVid on Windows or Mac Computer
Continue as the further introduction of RecordAnyVid, we will guide you on how to install the software on your Windows/Mac for recording any screen in the future when you need it. It is quite easy to get the official RecordAnyVid. For the free version, you only need to download the right one for Windows or Mac. If you have purchased the paid RecordAnyVid, you would require two more easy steps to register for using freely. Now please look through the install guide below.
Part 3. Fast Record Any Screen on Windows or Mac by Using RecordAnyVid
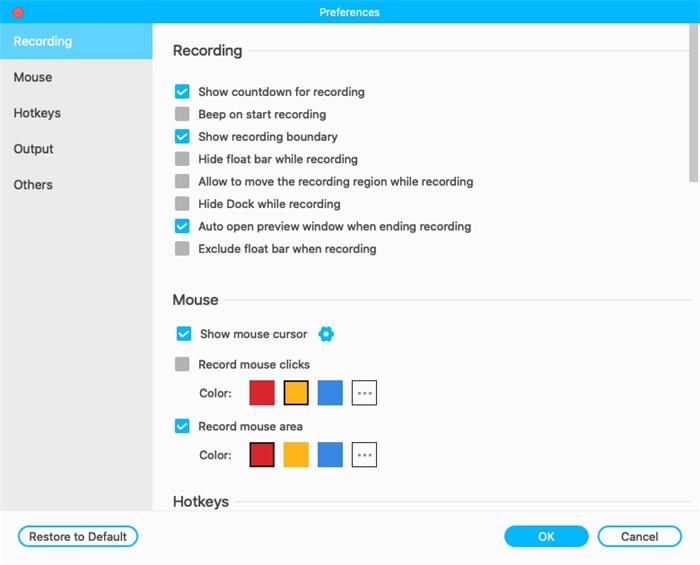
After getting RecordAnyVid well installed on your Windows or Mac devices, now you can start to use RecordAnyVid to record any screen you like. Videos or audios, it is all up to your choices. For the first-time users, let's begin with the general guidance to get familiar with how to fast record the screen using RecordAnyVid.
Video Tutorial: How to Record Computer Screen on Windows and Mac



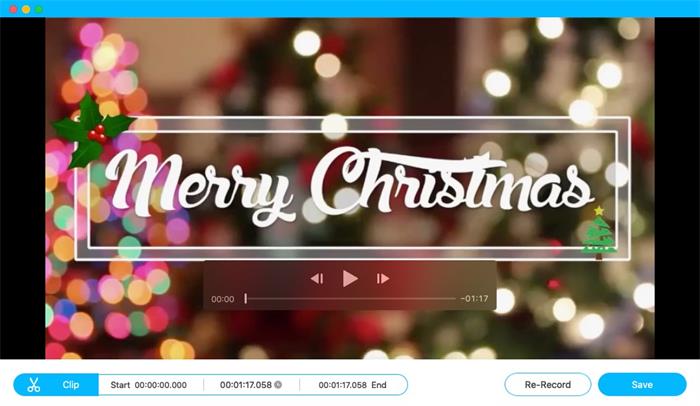
Just get RecordAnyVid to record any screen you like, no matter you are Windows or Mac user! This great tool can help you save many important information as well as media content without hassle. It is easy-to-use and user-friendly. Get RecordAnyVid to record down the screens you need to save now!
Leave a Comment
* By clicking “Submit”, you agree to our terms of service, privacy policy and cookies policy.

togel online2025-08-01 14:23:24
Join Letters From Home Podcast every other week for encouraging testimonies that will show you how the Designer is at work. Be encouraged! https://onpurposely. togel online

https://5mbzz.com/2025-08-01 07:41:22
https://5mbzz.com/ là nền tảng giải trí trực tuyến đa dạng, đáng tin cậy và minh bạch. Tại đây, người chơi có thể trải nghiệm hàng loạt sản phẩm cá cược hấp dẫn game nổ hũ, bắn cá, xổ số, thể thao, lô đề và nhiều hình thức giải trí khác.

ch2025-07-31 22:05:28
Simply respecting your work and thinking about how you dealt with this online journal so well. It's remarkable to the point that I can't bear to not experience this significant data at whatever point I surf the web! سایت لاین بت

IDEBET2025-07-31 18:41:13
Situs Slot Online paling gacor saat ini ialah idebet, Modal tipis wede fantatis layanan 24 jam penuh cocok banget buat cari Cuan setiap hari nya! Link>> https://vladmirgo.com/

<a href="https://luck8net.com/">https://luck8net.com/</a>2025-07-31 09:17:57
https://luck8net.com/ là một nhà cái cá cược trực tuyến mang phong cách hiện đại, được đầu tư bài bản từ nền tảng kỹ thuật cho đến dịch vụ khách hàng. Ngay từ khi chính thức ra mắt thị trường, đã nhanh chóng thu hút sự chú ý nhờ vào giao diện thân thiện, tốc độ truy cập ổn định cùng khả năng đáp ứng tốt trên cả máy tính lẫn thiết bị di động.

min882025-07-30 16:15:59
Min88 là lựa chọn lý tưởng dành cho những ai đang tìm kiếm sân chơi giải trí trực tuyến an toàn và đáng tin cậy. Dù chỉ mới ra mắt chưa đầy 5 năm nhưng nhà cái tự tin có thể cạnh tranh cùng các đơn vị gạo cội trong lĩnh vực giải trí trực tuyến. Với lợi thế tiên phong trong ứng dụng công nghệ mới vào cá cược online giúp thương hiệu của chúng tôi ngày càng nhận về nhiều đánh giá tích cực.

PKR 9992025-07-30 12:28:34
PKR 999 is an online gaming hub that offers a diverse variety of games you can play to earn real money. Many people love online gaming and waste their precious time, but by playing on this platform, you will utilize your time and start earning. PKR 999

yamna 1222025-07-30 11:42:22
Step into the digital crossroads where ideas spark, trends ignite, and global conversations unfold in real time. X (formerly Twitter) isn’t just a social platform — it’s where voices rise, communities collide, and the world checks in. Whether you're here to follow breaking newTwitter s, share a thought, or dive into your interests, the X homepage is your gateway to what’s happening right now — everywhere.

yamna 1222025-07-30 11:38:35
Step into the digital crossroads where ideas spark, trends ignite, and global conversations unfold in real time. X (formerly Twitter) isn’t just a social platform — it’s where voices rise, communities collide, and the world checks in. Whether you're here to follow breaking news, share a thought, or dive into your interests, the X homepage is your gateway to what’s happening right now — everywhere. Twitter

Muhammad Moiez2025-07-30 11:09:09
As i bought onto your web site nevertheless positioning focus purely a little bit little submits. Satisfying strategy for foreseeable future, I will be bookmarking each time receive people finish off arises in place... pink salt trick


